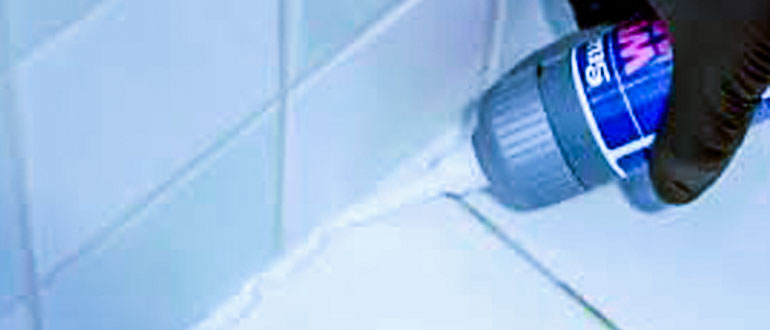
A well-sealed shower floor is essential for maintaining the beauty and functionality of your bathroom. A proper seal protects against water damage and prevents mold and mildew growth. It also ensures a clean and hygienic space for the shower floor. Whether you’re renovating your bathroom or simply looking to refresh the sealant in your shower, don’t be tense! Let’s explore how to effectively seal a shower floor with a comprehensive guide.
This guide will walk you through the steps to effectively seal a shower floor. By following these instructions and investing a little time and effort, you’ll be able to achieve your goal. Furthermore, a durable and waterproof seal will keep your shower pristine for years. Let’s dive into sealing your shower floor and creating a long-lasting barrier against water infiltration.
The Materials Required to Seal a Shower Floor
To properly seal a shower floor, you’ll need a few essential materials. Here’s a list of items you’ll need to gather before starting the sealing process:
- Waterproof Sealant: Choose a high-quality waterproof sealant specifically designed for shower and bathroom use. Look for a product that is mold and mildew resistant and suitable for the type of surface you have, such as tile, stone, or acrylic.
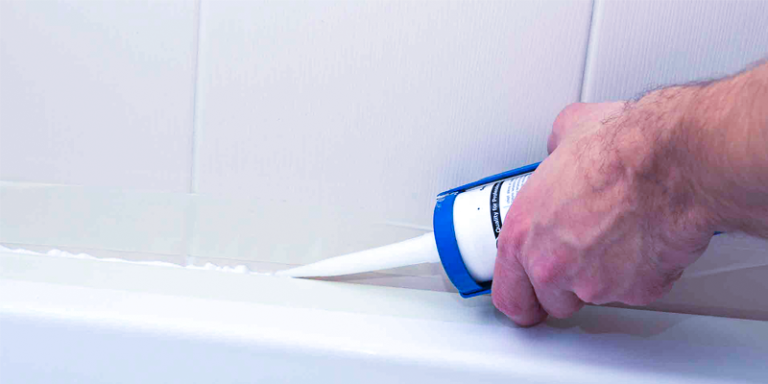
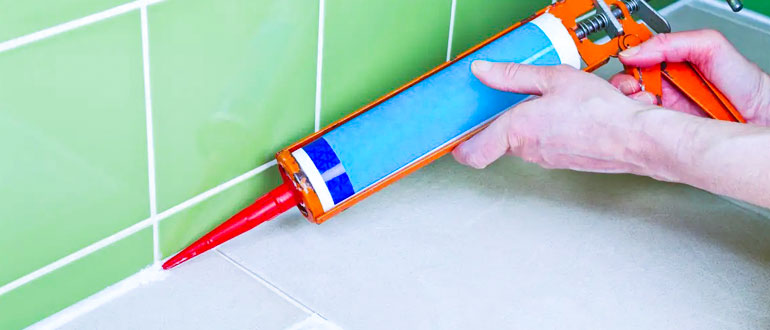
- Caulking Gun: A caulking gun is essential for applying the sealant smoothly and evenly. Make sure to select a caulking gun that fits comfortably in your hand and allows for precise control of the flow.
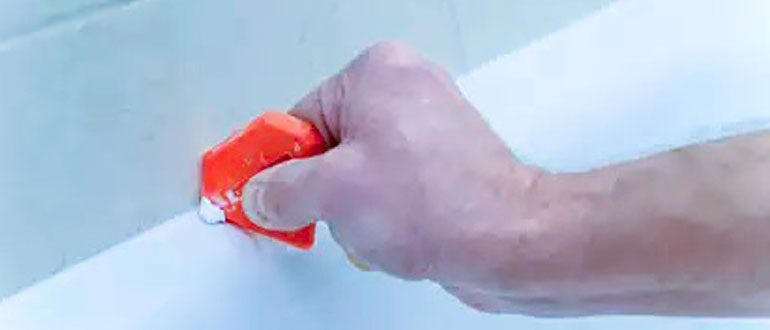
- Caulking Tool: A caulking tool or smoothing tool is used to shape and smooth the sealant after application, ensuring a professional-looking finish. This tool helps to remove excess sealant and create clean, neat lines.
- Cleaning Supplies: Before applying the sealant, thoroughly clean the shower floor to remove any dirt, grime, or existing sealant. You’ll need a mild cleaner, scrub brush, sponge or cloth, and water to ensure a clean surface for proper adhesion.
- Painter’s Tape: Use painter’s tape to mask off the areas around the shower floor, such as walls or fixtures, that you want to protect from accidental sealant application. This will help you achieve clean lines and avoid any unwanted mess.
- Gloves and Safety Gear: It’s always a good idea to wear gloves to protect your hands during the sealing process. Additionally, consider wearing safety glasses to shield your eyes from any accidental splatters or drips.
By having these materials ready before you begin sealing your shower floor, you’ll be well-prepared to tackle the task effectively and efficiently.
The Best Sealer to Seal a Shower
When selecting the best sealer to seal a shower, a few options exist. The choice depends on various factors, such as the type of surface, personal preference, and the desired level of protection. Here are three popular sealant options often used for shower sealing:
Silicone Sealant:
Silicone-based sealants are commonly used in showers due to their excellent water resistance and flexibility. They adhere well to tile, glass, and acrylic surfaces, forming a durable and watertight seal. Silicone sealants are available in clear or various colors to match your shower aesthetics.
Epoxy Sealant:
Epoxy sealants provide exceptional durability and resistance to water, stains, and chemicals. They are well-suited for sealing grout lines between tiles and offer a long-lasting solution. Epoxy sealants come in a two-part system that requires mixing before application and typically requires a longer curing time.
Polyurethane Sealant:
Polyurethane sealants offer a robust and flexible seal, making them suitable for various shower surfaces. They provide good resistance to water and chemicals, and some options are specifically designed to resist mold and mildew growth. Polyurethane sealants are available in different formulations, including sanded and non-sanded versions for specific applications.
Ultimately, the best sealer for your shower depends on your requirements, such as budget and the surface you want to seal. A high-quality sealant formulated explicitly for bathrooms is recommended and offers resistance to mold, mildew, and water damage.
How to Seal a Tile Shower Floor
Sealing a tile shower floor is an important task to protect the integrity of your bathroom and prevent water damage. First, thoroughly clean the shower floor, removing any dirt, soap scum, or existing sealant.
Once the surface is dry, choose a high-quality waterproof sealant suitable for tile surfaces. Using a caulking gun, apply the sealant along the joints and corners of the tile floor, working in small sections.
Hold the caulking gun at a 45-degree angle and apply a steady bead of sealant. After application, use a caulking or smoothing tool to shape and smooth the sealant, creating a neat finish.
Remove any excess sealant with a cloth or sponge. Allow the sealant to dry for the recommended time specified by the manufacturer. Once dry, carefully remove any painter’s tape used to protect surrounding areas.
Test the seal by running water over the sealed areas and checking for any signs of leakage. If necessary, reapply the sealant to areas that require additional protection.
Following these steps, you can effectively seal your tile shower floor, ensuring its durability and safeguarding against water-related issues. Regular maintenance and periodic resealing will help maintain the longevity and aesthetics of your shower.
Application of Shower Plug to Seal a Shower Floor
Using a shower plug can be an effective method when sealing a shower floor. To apply a shower, plug and seal your shower floor, follow these steps:
First, ensure the shower floor is clean and free from debris or existing sealant. Clean the surface thoroughly using a mild cleaner, scrub brush, and water. Once cleaned, make sure the shower floor is completely dry before proceeding.
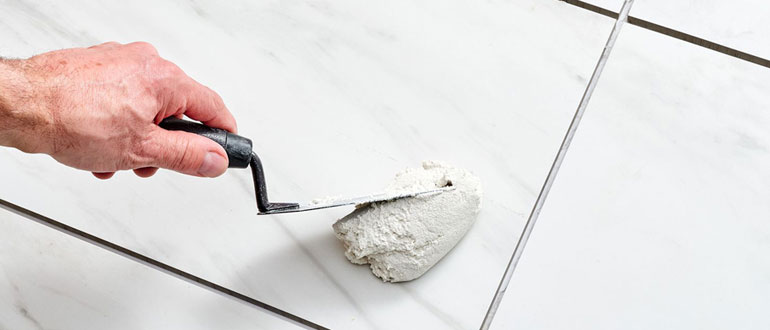
Next, take a sufficient amount of the shower plug compound and place it directly onto the shower floor. Spread the compound evenly across the entire surface using the putty knife or trowel. Be sure to fill any gaps, cracks, or joints in the shower floor to create a solid and watertight seal.
Applying the shower plug, use the putty knife or trowel to smooth and shape the compound. Ensure that it is level with the surface of the shower floor, eliminating any bumps or ridges. Pay special attention to the corners and edges, ensuring a uniform application for consistent sealing.
Once the shower plug is applied and shaped, let it dry and cure according to the manufacturer’s instructions. The drying and curing time may vary depending on the specific product used.
After the shower plug has completely dried and cured, test the seal by running water over the sealed shower floor. Check for any signs of leakage or water seepage. Additional applications or touch-ups may be required to achieve a secure and watertight seal if any issues are detected.
By following these steps and adequately applying a shower plug, you can seal your shower floor effectively, providing a durable barrier against water damage and maintaining a clean and functional shower space. Regular inspection and maintenance of the seal will help ensure its long-lasting effectiveness.
The Frequently Asked Questions (FAQs)
Q1: Why is it important to seal a shower?
A1: Sealing a shower is important to prevent water damage and maintain the integrity of the bathroom. A proper seal prevents water from penetrating the shower floor or walls, minimizing the risk of mold, mildew, and structural issues.
Q2: What are the signs that my shower needs resealing?
A2: Signs that your shower may need resealing include water leaks, discoloration or staining on the grout or caulk, mold or mildew growth, and a general deterioration of the existing sealant.
Q3: What materials should I use to seal a shower?
A3: The materials commonly used to seal a shower include waterproof sealants specifically designed for bathrooms, such as silicone or epoxy-based sealants. Additionally, you may need cleaning supplies, a caulking gun, and a caulking tool for application.
Q4: How often should I reseal my shower?
A4: The frequency of resealing depends on various factors, including the quality of the initial seal, usage of the shower, and the condition of the sealant. As a general guideline, it is recommended to reseal a shower every 1 to 3 years or whenever signs of wear or damage are noticed.
Q5: Can I seal my shower by myself, or should I hire a professional?
A5: Sealing a shower can be a DIY project for individuals with some experience in home maintenance. However, if you’re unsure or uncomfortable with the process, it’s advisable to hire a professional to ensure a proper and effective seal.
Q6: How long does it take for the sealant to dry and cure?
A6: The drying and curing time of the sealant can vary depending on the specific product and manufacturer’s instructions. It can range from a few hours to a day or more. It’s important to follow the recommended drying time before exposing the sealed shower to water or moisture.
Q7: How can I maintain the sealed shower after the application?
A7: To maintain a sealed shower, regularly clean the surfaces using mild cleaners and non-abrasive tools. Avoid using harsh chemicals or abrasive materials that can damage the sealant. Promptly address any signs of wear, damage, or mold growth by resealing or seeking professional assistance.
Q8: Can I seal a shower over existing sealant?
A8: In most cases, you should not apply new sealant directly over existing sealant. It’s best to remove the old sealant completely and clean the surface before applying a fresh sealant to ensure proper adhesion and effectiveness.
Q9: Are there any safety precautions I should take when sealing a shower?
A9: When sealing a shower, it’s advisable to wear protective gloves to avoid skin contact with sealants. Ensure proper ventilation by opening windows or using fans to minimize the inhalation of fumes. Follow the manufacturer’s instructions and take appropriate safety measures specified on the product packaging.
Q10: Can I use the same sealant for the shower floor and walls?
A10: The sealant used for the shower floor may differ from the one used for the walls, depending on the materials and surface types. It’s recommended to choose sealants specifically designed for the respective surfaces to ensure optimal adhesion and compatibility.
Conclusion:
In conclusion, sealing a shower is crucial in maintaining a functional and water-resistant bathroom. By properly sealing the shower floor and walls, you can prevent water damage, inhibit mold and mildew growth, and prolong your shower’s life.
Whether you use a shower plug or sealant, following the recommended steps and using high-quality materials will ensure an effective seal. Regular inspection and maintenance of the seal, along with timely resealing, when necessary, will help preserve the integrity and beauty of your shower for years to come. By sealing your shower correctly, you can enjoy a clean, hygienic, and worry-free bathing experience.
