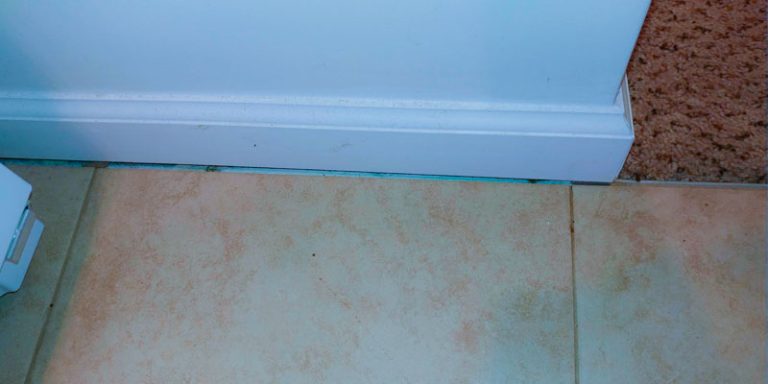
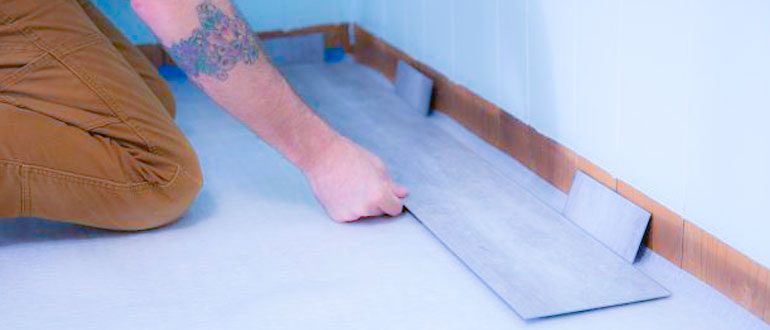
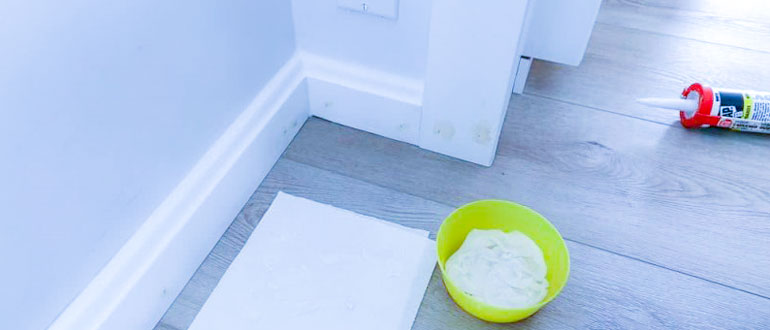
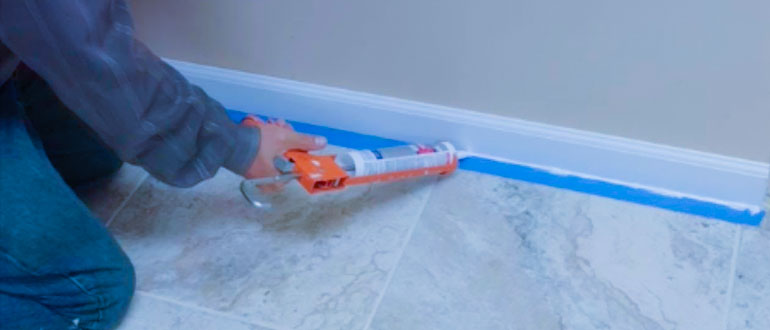
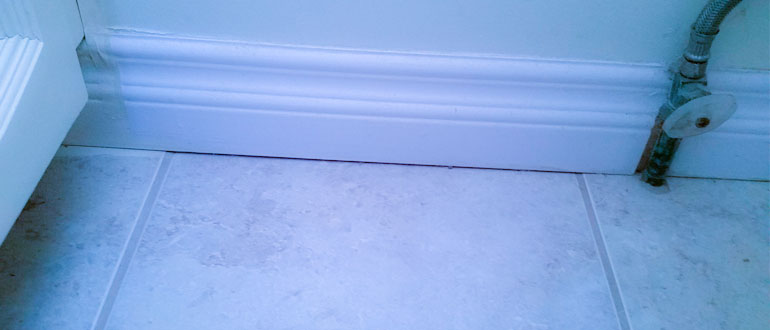
If you have noticed an unsightly gap between your baseboard and tile floor, it’s essential to fill it to prevent dirt and debris from accumulating in the space. Not only can this improve the appearance of your space, but it can also help to maintain the integrity of your tile and prevent damage. Filling the gap between your baseboard and tile floor is a simple DIY task that can be completed with the right tools and materials.
This guide will take you through the steps needed to fill the gap yourself, including preparing the area, choosing the suitable gap-filling material, and applying it correctly. We’ll also provide tips and tricks for achieving a professional finish and common issues to watch out for. With our helpful guide, you can fill the gap and enjoy a clean and polished finish that enhances the look and functionality of your space.
Prepare the Area
Before filling the gap between your baseboard and tile floor, it’s important to properly prepare the area to ensure a successful and long-lasting finish. Here are the steps to follow:
- Clean the area thoroughly: Use a vacuum or broom to remove any dirt, dust, or debris from the gap and surrounding area. Wipe down the baseboard and tile with a damp cloth to remove any remaining residue.
- Sand the gap: Use fine-grit sandpaper to lightly sand the gap between the baseboard and tile. This will help create a rough surface that will allow the gap-filling material to adhere better.
- Apply primer: Apply a thin layer of primer to the sanded gap using a small paintbrush. This will help the gap-filling material bond better to the surface.
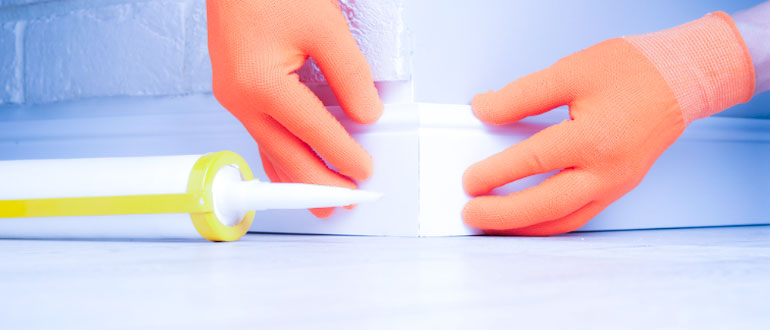
- Fill the gap: Use a gap-filling solution or caulk to fill the gap between the baseboard and tile. Apply the material with a caulking gun or putty knife, making sure to fill the gap completely.
- Smooth the surface: Use a damp cloth or your finger to smooth out the surface of the gap-filling material. This will create a seamless finish that blends in with the surrounding baseboard and tile.
- Allow to dry: Follow the manufacturer’s instructions for drying time. Once the gap-filling material is completely dry, you can paint or stain it to match the surrounding baseboard and tile.
Following these steps, you can prepare the area to fill the gap between your baseboard and tile floor, ensuring a professional and long-lasting finish.
Choosing the Right Tools and Supplies
Choosing the right tools and supplies is crucial for filling the gap between your baseboard and tile floor. Here are the tools and supplies you’ll need:
- Gap-filling solution or caulk: This material will fill the gap between the baseboard and the tile. Choose a high-quality, flexible gap-filling solution or caulk that can withstand movement and changes in temperature.
- Caulking gun or putty knife: You’ll need a tool to apply the gap-filling material. A caulking gun is ideal for larger gaps, while a putty knife is better suited for smaller gaps.
- Sandpaper: Use fine-grit sandpaper to lightly sand the gap between the baseboard and the tile. This will create a rough surface to help the gap-filling material adhere better.
- Primer: Applying a thin layer of primer to the sanded gap will better help the gap-filling material bond to the surface.
- Damp cloth: Use a wet cloth to wipe down the baseboard and tile and smooth out the surface of the gap-filling material.
- Paint or stain: Once the gap-filling material is dry, paint or stain it to match the surrounding baseboard and tile.
- Safety equipment: It’s essential to wear gloves and eye protection when working with gap-filling solutions or caulk.
Choosing the right tools and supplies ensures a successful and long-lasting finish for filling the gap between your baseboard and tile floor.
Perfect Solutions or Caulk
When it comes to filling the gap between your baseboard and tile floor, there are two popular options: perfect solutions and caulk. Perfect solutions are a type of gap-filling material designed to fill small gaps and cracks. They come in various colors and are easy to apply with a caulking gun. Perfect solutions are also flexible, which allows them to expand and contract with temperature changes and movement in the floor.
Caulk is another popular option for filling the gap between your baseboard and tile floor. It is a flexible, waterproof material that can be painted to match the color of your baseboard or tile. Caulk is also easy to apply with a caulking gun and can be smoothed with a damp sponge or finger for a professional finish.
Both perfect solutions and caulk can provide a long-lasting and durable finish that fills the gap between your baseboard and tile floor. The choice between the two will ultimately come down to personal preference and the specific needs of your project.
The Best Ways to Fill the Gap Between Baseboard and Tile Floor
The best ways to fill the gap between your baseboard and tile floor will depend on the specific needs of your project. Here are some general tips to help you achieve a professional and long-lasting finish:
- Choose the suitable gap-filling material: The material you use to fill the gap should be flexible, waterproof, and able to withstand temperature changes and movement on the floor. Perfect solutions and caulk are famous for filling gaps between baseboard and tile floors.
- Prepare the area properly: Before applying the gap-filling material, clean it with a damp cloth and ensure it is scorched. You may also need a scraper or putty knife to remove old caulking or debris from the gap.
- Apply the gap-filling material: Apply the gap-filling material to the gap using a caulking gun. Start at one end and work along the gap, applying steady and even pressure on the gun trigger.
- Smooth out the gap-filling material: Use a damp sponge or your finger to smooth out the gap-filling material and create a professional-looking finish. Be sure to remove any excess material from the surface of the tile or baseboard.
- Allow the gap-filling material to dry: Check the instructions on the gap-filling material to determine the drying time. Once it has dried, you can sand or paint over the material if necessary.
By following these steps and taking your time, you can confidently fill the gap between your baseboard and tile floor and achieve a clean and polished finish.
Fill the Gap Between the Baseboard and Tile Floor in Simple 7 Steps
Here are seven simple steps to fill the gap between your baseboard and tile floor:
Step-1:
- Clean the area thoroughly: Use a vacuum or broom to remove dirt, dust, or debris from the gap and the surrounding area. Wipe down the baseboard and tile with a damp cloth to remove any remaining residue.
Step-2:
- Sand the gap: Use fine-grit sandpaper to lightly sand the gap between the baseboard and tile. This will help create a rough surface, allowing the gap-filling material to adhere better.
Step-3:
- Apply primer: Apply a thin primer layer to the sanded gap using a small paintbrush. This will help the gap-filling material bond better to the surface.
Step-4:
- Fill the gap: Use a gap-filling solution or caulk to fill the gap between the baseboard and tile. Apply the material with a caulking gun or putty knife, filling the gap.
Step-5:
- Smooth the surface: Use a damp cloth or your finger to smooth out the surface of the gap-filling material. This will create a seamless finish that blends in with the surrounding baseboard and tile.
Step-6:
- Allow to dry: Follow the manufacturer’s instructions for drying time. Once the gap-filling material is dehydrated, paint or stain it to match the surrounding baseboard and tile.
Step-7:
- Clean up excess material: Use a damp cloth to remove any extra gap-filling material before it dries. This will make it easier to achieve a clean and polished finish.
By following these simple steps, you can quickly fill the gap between your baseboard and tile floor and achieve a professional and long-lasting finish that will improve the look and functionality of your space.
Fill the Gap Between the Baseboard and Tile Floor Without Professional Help
Filling the gap between your baseboard and tile floor is a simple DIY task that can be done without professional help. Here’s how you can do it:
- Clean the area thoroughly: Use a vacuum or broom to remove dirt, dust, or debris from the gap and the surrounding area. Wipe down the baseboard and tile with a damp cloth to remove any remaining residue.
- Sand the gap: Use fine-grit sandpaper to lightly sand the gap between the baseboard and tile. This will help create a rough surface, allowing the gap-filling material to adhere better.
- Apply primer: Apply a thin primer layer to the sanded gap using a small paintbrush. This will help the gap-filling material bond better to the surface.
- Fill the gap: Use a gap-filling solution or caulk to fill the gap between the baseboard and tile. Apply the material with a caulking gun or putty knife, filling the gap.
- Smooth the surface: Use a damp cloth or your finger to smooth out the surface of the gap-filling material. This will create a seamless finish that blends in with the surrounding baseboard and tile.
- Allow to dry: Follow the manufacturer’s instructions for drying time. Once the gap-filling material is dehydrated, paint or stain it to match the surrounding baseboard and tile.
Following these simple steps can fill the gap between your baseboard and tile floor without professional help. With a bit of time and effort, you can achieve a professional and long-lasting finish that will improve the look and functionality of your space.
Common Issues to Fill the Gap Between Baseboard and Tile Floor
While filling the gap between the baseboard and tile floor is relatively simple, some common issues can arise. Here are a few:
- Incorrect gap-filling material: Using the wrong type of material can cause the material to crack or shrink over time, creating gaps or unsightly lines. Choose a high-quality, flexible gap-filling solution or caulk designed for the job.
- Uneven application: Applying the gap-filling material unevenly can create a messy and unprofessional finish. Make sure to apply the material smoothly and evenly, using a caulking gun or putty knife as needed.
- Improper sanding: Please sand the gap properly to prevent the gap-filling material from failing to adhere to the surface, resulting in a weak bond and an unprofessional finish. Make sure to sand the gap lightly with fine-grit sandpaper before applying the gap-filling material.
- Insufficient drying time: Rushing the drying time can cause the gap-filling material to crack or shrink over time, creating gaps or unsightly lines. Follow the manufacturer’s instructions for drying time, and allow the gap-filling material to dry completely before painting or staining it.
By being aware of these common issues and avoiding them, you can quickly fill the gap between your baseboard and tile floor and achieve a professional and long-lasting finish.
The Most Common FAQs
Here are some frequently asked questions (FAQs) about filling the gap between the baseboard and tile floor:
Q: What is the best gap-filling material for this job?
A: The best gap-filling material is a high-quality, flexible caulk or gap-filling solution that is designed specifically for use between baseboards and tile floors.
Q: Can I use regular silicone caulk to fill the gap?
A: While regular silicone caulk can be used to fill the gap, it may not be as effective or long-lasting as a gap-filling solution or caulk that is designed specifically for this purpose.
Q: Can I paint or stain the gap-filling material?
A: Yes, most gap-filling materials can be painted or stained to match the surrounding baseboard and tile.
Q: How long does the gap-filling material take to dry?
A: Drying times vary depending on the type of gap-filling material used. Follow the manufacturer’s instructions for specific drying times.
Q: Can I fill a large gap between the baseboard and the tile?
A: Yes, larger gaps can be filled using a backer rod or foam backer strip to fill the majority of the gap before applying the gap-filling material on top.
Q: How long will the gap-filling material last?
A: With proper application and maintenance, gap-filling materials can last for several years.
Q: Do I need professional help to fill the gap between the baseboard and the tile?
A: No, this is a simple DIY task that can be done with the right tools and materials. However, if you are unsure about your ability to complete the task, it may be best to seek professional help.
Conclusion
In conclusion, Filling the gap between your baseboard and tile floor is simple and cost-effective. With the right tools and materials, improve your space’s look and functionality. You can achieve a professional, long-lasting finish that will blend seamlessly with your existing baseboard and tile.
By following the steps outlined above, you can quickly fill the gap without needing professional help. Always choose a suitable gap-filling material and prepare the area properly. Additionally, use caution when applying and smoothing the gap-filling material. You can create a clean and polished finish by investing a little time and effort. That will enhance the appearance and durability of your space.
