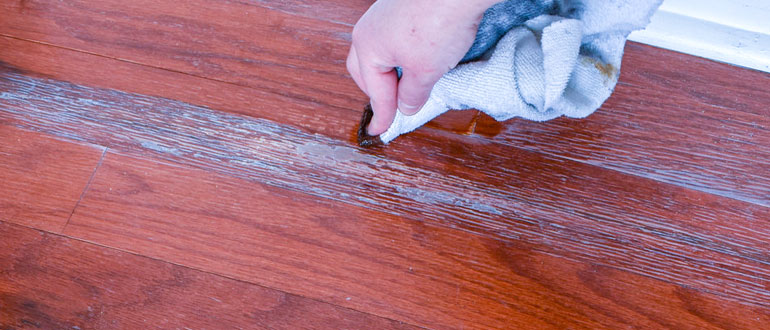
There’s no denying the timeless beauty of hardwood floors. They add warmth, elegance, and character to any space. However, even the most well-cared-for hardwood floors can fall victim to scratches, dents, or gouges over time. While these imperfections may seem disheartening, the good news is that many minor to moderate gouges can be repaired, allowing your hardwood floors to regain their former glory. Don’t be tense, Let’s explore how to fix gouges in hardwood floors with a comprehensive guide.
In this guide, we will explore the art of fixing gouges in hardwood floors. Whether your floors have suffered from the occasional chair scrape or the playful antics of pets, we’ll provide practical tips and techniques to restore their natural beauty, from identifying the severity of the damage to selecting suitable materials and methods. We’ll walk you through step-by-step to ensure successful repairs.
How Can I Fix Deeper Gouges in My Hardwood?
Fixing deeper gouges in hardwood requires a systematic approach. First, clean the damaged area to ensure it’s free of dirt or debris. Assess the depth of the gouge to determine the best course of action.
If the gouge is not too extensive, you can use a wood filler specially designed for hardwood floors. Choose a filler that closely matches the color of your flooring and carefully apply it to the gouge, following the manufacturer’s instructions.
Use a putty knife to level the filler with the surrounding surface, ensuring it slightly overfills the gouge to account for shrinkage during drying. Allow the filler to dry completely before proceeding to the next step.
Once dry, gently sand the repaired area using fine-grit sandpaper or a sanding block. Blend the sanded area with the surrounding floor, being cautious not to over sand or damage the neighboring wood.
To achieve a seamless appearance, apply a matching stain or finish to the repaired area, following the manufacturer’s instructions. Allow the paint or finish to dry thoroughly before considering an additional protective topcoat for enhanced durability.
If the gouge is extensive or the damage reaches the subfloor, it is recommended to seek professional assistance to ensure a proper repair. By following these steps, you can effectively fix deeper gouges in your hardwood, restoring its beauty and preserving its longevity.
Different Types of Gouges in Hardwood Floors
Various types of gouges can occur on hardwood floors. Here are a few common ones:
Shallow Surface Scratches:
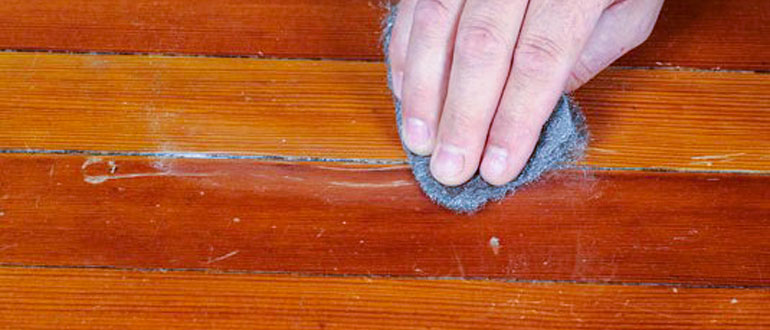
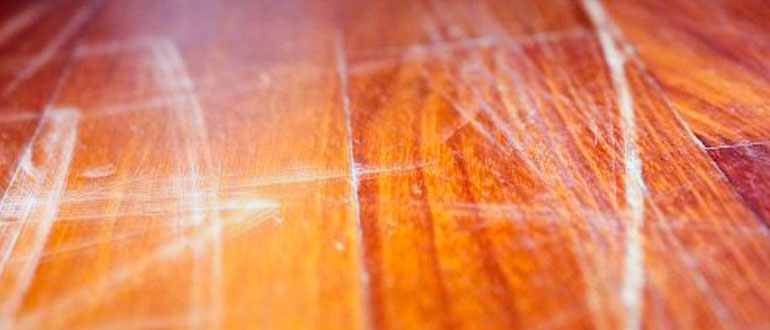
These superficial scratches only affect the topmost layer of the hardwood floor’s finish. Sharp objects, furniture legs, or pet claws often cause them. Shallow surface scratches typically do not penetrate deep into the wood and can be easily repaired with straightforward solutions like scratch concealers or touch-up markers.
Medium-depth Gouges:
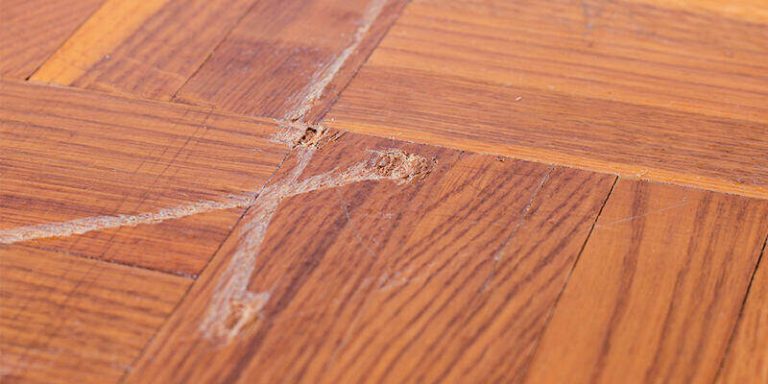
These gouges are slightly deeper and may penetrate the finish and wood. They can be caused by heavier objects dragging across the floor or accidental impacts. Medium-depth gouges may require more complicated repairs, such as using wood filler or epoxy to fill the damaged area and restore the smooth surface.
Deep Gouges or Dents are more severe and noticeable indentations in the hardwood floor. They can occur due to heavy furniture dragged without protection or significant impacts from dropped objects. Deep gouges often require professional attention as they may require more extensive repairs, such as replacing the damaged boards or sanding and refinishing the affected area.
Wide Gaps or Separations:
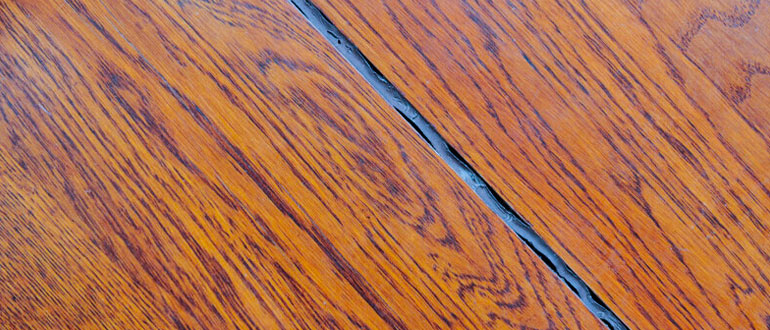
While not technically gouges, wide gaps or separations between hardwood boards can also occur over time. These gaps can be caused by fluctuations in humidity and temperature, leading to wood expansion and contraction. Addressing this issue usually involves filling the gaps with appropriate wood fillers or using expansion strips for natural movement.
It’s essential to assess the severity of the gouges and consider the appropriate repair method for each type. Minor scratches can often be fixed with DIY solutions, while deeper gouges or significant damage may require professional assistance to restore and maintain your hardwood floors properly.
How Can I Fix Surface-Level Gouges in Hardwood Floors?
Fixing surface-level gouges in hardwood floors is a relatively straightforward process you can easily accomplish. Begin by cleaning the gouged area to remove any dirt or debris that may be present.
Once the area is clean, assess the depth of the gouge to ensure it is only a surface-level scratch that hasn’t penetrated the wood. You can use a scratch concealer or a touch-up marker specifically designed for hardwood floors if it’s a shallow scratch.
Choose a color that matches your floor’s finish and carefully apply the concealer or marker to the gouged area, following the manufacturer’s instructions. Blend the product evenly with the surrounding floor using a soft cloth or a cotton swab. To achieve a seamless look, gently buff the repaired area to smooth out any excess product and blend it with the rest of the floor.
Finally, consider applying a protective coating, such as polyurethane, over the entire floor surface to safeguard against future scratches and maintain the overall integrity of the hardwood. By following these steps, you can effectively fix surface-level gouges and restore the appearance of your hardwood floors with minimal effort.
The Frequently Asked Questions (FAQs)
Certainly! Here are some frequently asked questions (FAQs) related to fixing gouges in hardwood floors:
Q: Can I fix gouges in hardwood floors myself, or do I need professional help?
A: Minor to moderate gouges can often be fixed as a DIY project. However, for extensive or deep damage, it is advisable to seek professional assistance to ensure proper repair and minimize the risk of further damage.
Q: What should I use to fill shallow gouges in hardwood floors?
A: For shallow gouges, you can use a wood filler specifically designed for hardwood floors. Choose a filler that matches the color of your flooring for the best results.
Q: How long does it take for wood filler to dry before sanding?
A: The drying time for wood filler can vary depending on the product used. Follow the manufacturer’s instructions for specific drying times, which can range from a few hours to overnight.
Q: What tools do I need to repair gouges in hardwood floors?
A: Common tools for gouge repair include a soft cloth, mild hardwood floor cleaner, putty knife, sandpaper or sanding block, and brushes or rollers for stain and finish application.
Q: How do I match the color of the repaired area to the rest of the floor?
A: To achieve a seamless appearance, select a wood filler, stain, or finish that closely matches the color of your existing hardwood floor. Test the products on an inconspicuous area first to ensure a good color match.
Q: Can I fix wide gaps or separations between hardwood boards myself?
A: Wide gaps or separations between hardwood boards may require professional attention, as they could indicate underlying issues. It’s best to consult a flooring specialist who can assess the situation and provide appropriate solutions.
Q: How can I prevent future gouges on my hardwood floors?
A: Preventive measures include using furniture pads to protect against scratches, placing rugs or mats in high-traffic areas, and promptly cleaning up spills or accidents. Regular maintenance, such as sweeping and periodic refinishing, can also help maintain the floor’s integrity.
Remember, if you have any concerns or are unsure about the repair process, it’s always advisable to consult a professional for guidance.
Conclusion
In conclusion, fixing gouges in hardwood floors is a challenging task. That can often be accomplished with the right tools, materials, and techniques. Surface-level gouges can be repaired using scratch concealers or touch-up markers. Otherwise, deeper gouges may require wood fillers or more involved repair methods.
Additionally, It’s crucial to carefully clean the area, assess the depth of the gouge, and choose appropriate products that match the color of your hardwood floor. Following the manufacturer’s instructions, applying the selected repair materials. And blending them with the surrounding floor can help achieve a seamless and natural appearance.
You May Also Like to Read:
