Hardwood floors are a popular choice for homeowners looking to add a touch of elegance and warmth. While the natural beauty and durability of hardwood are undeniable. Many people may be hesitant to undertake a flooring project due to concerns about the time required for installation. The question “How long does it take to install hardwood floors?” is one that is frequently asked by those considering a flooring upgrade.
The installation time for hardwood floors can vary depending on several factors. One of the most significant factors is the size of the space where the flooring will be installed. Larger rooms will require more time to complete, while smaller areas may be finished more quickly. The type of hardwood flooring installed can also impact the installation time. For example, pre-finished hardwood may require less time to install than unfinished hardwood.
Prepare the Area to Install Hardwood Floors
Preparing the area for hardwood floor installation is a critical step in ensuring the success of the project. Here are some steps to follow to prepare the area for hardwood floor installation:
- Clear the area: Remove all furniture, rugs, and other items from the room to be installed. This will give the installers clear access to the floor and allow them to work more efficiently.
- Check for subfloor damage: The subfloor should be level, dry, and structurally sound. If there are any areas of damage, they should be repaired before installation begins.
- Acclimate the hardwood flooring: The hardwood flooring should be acclimated to the environment of the room for at least 48 hours before installation. This will ensure that the wood has adjusted to the temperature and humidity of the space.
- Clean the subfloor: The subfloor should be swept and vacuumed to remove any debris or dust that may interfere with the installation process.
- Install a moisture barrier: If installed over a concrete subfloor, a moisture barrier should be installed to prevent moisture from seeping into the hardwood.
- Install underlayment: An underlayment may be needed to provide a cushioned surface for the hardwood flooring and to reduce noise.
- Plan the layout: Plan the layout of the hardwood flooring to ensure the best use of materials and a visually appealing design.
By following these steps, the area will be properly prepared for hardwood floor installation, which will help to ensure a successful and long-lasting installation.
Choose The Right Tools and Supplies
Here is a list of tools and supplies needed for installing hardwood floors, along with an estimate of their time-consuming factor:
- Moisture barrier: The moisture barrier needs to be applied properly to ensure that it provides adequate protection against moisture.
- Underlayment: The underlayment needs to be installed properly to provide a cushioned surface for the hardwood flooring and reduce noise.
- Nails or staples: Moderate to high. The hardwood flooring needs to be properly secured to the subfloor to ensure that it does not come loose over time.
- Hammer or flooring nailed: Moderate to high. A flooring nailed is a more efficient option than a hammer, but it can be more expensive.
- Saw: The saw needs to be used properly to ensure that the hardwood flooring is cut to the appropriate size and shape.
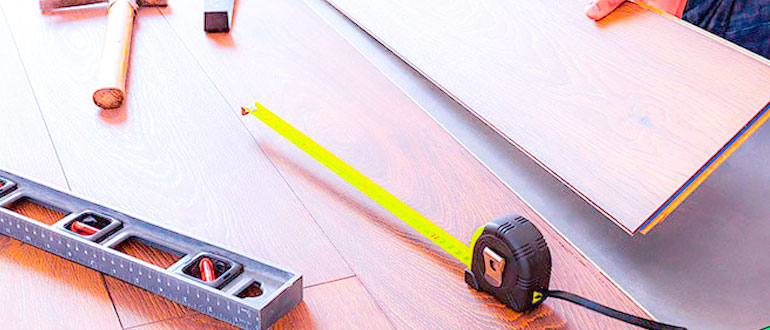
- Measuring tape and square: These tools are relatively quick to use and are essential for ensuring that the hardwood flooring is installed straight and level.
- Pry bar: The pry bar is used to remove any baseboards or trim that may be in the way of the hardwood flooring installation.
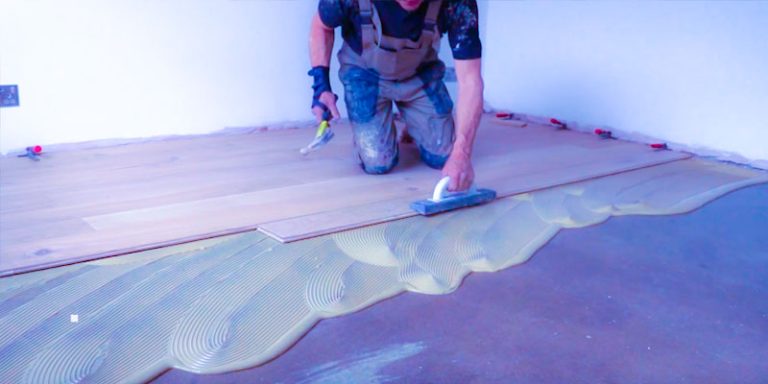
- Trowel: Low to moderate. If adhesive is required for the installation, the trowel needs to be used to apply it properly.
The Best Ways to Install Hardwood Floors
Installing hardwood floors can be a time-consuming process, but there are ways to make it more efficient. Here are some of the best ways to install hardwood floors with a focus on time:
- Proper planning: Proper planning is key to an efficient installation. This includes measuring the area, selecting the right type of hardwood flooring, and preparing the subfloor.
- Use prefinished hardwood flooring: Prefinished hardwood flooring is a great option for those looking to save time. Since the finish is applied in the factory, there is no need to wait for it to dry, which can save a significant amount of time during the installation process.
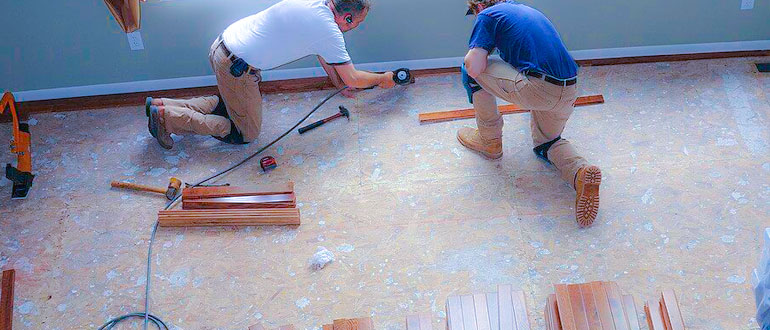
- Hire a professional installer: Hiring a professional installer can help ensure that the installation is done efficiently and correctly. Professionals have the necessary experience and tools to complete the installation in a timely manner.
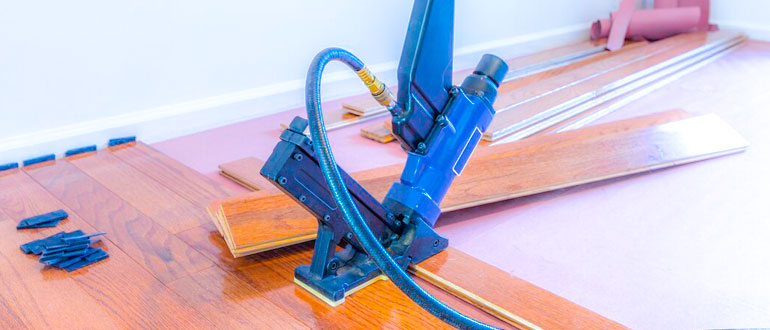
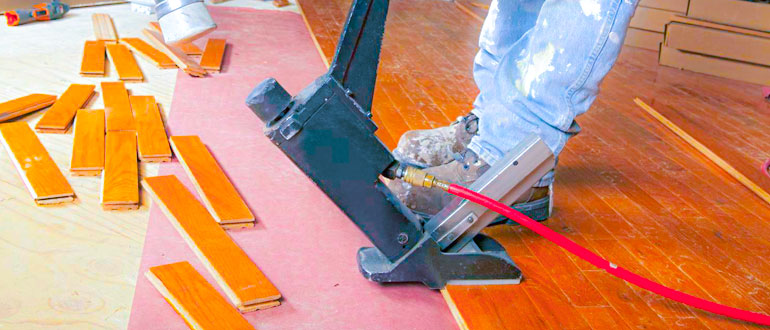
- Use a flooring nailed: Using a flooring nailed can help save time during the installation process. A flooring nailed is a tool that is used to drive nails into the hardwood flooring and subfloor, which can be much faster than using a hammer and nails.
- Cut the hardwood flooring in batches: Cutting the hardwood flooring in batches can help save time and reduce mistakes. By cutting the flooring in batches, installers can ensure that all of the pieces are the correct size and shape before starting the installation.
- Work in sections: Working in sections can help break up the installation process and make it more manageable. This can also help ensure that each section is installed correctly before moving on to the next.
By following these best practices, installers can complete the installation of hardwood floors in a timely and efficient manner.
The Most Common Factors in Installing Hardwood Floors Efficiently
Installing hardwood floors can be a time-consuming process, but there are several common factors that can help make the installation more efficient. Here are some of the most common factors to consider:
- Proper planning: Proper planning is key to an efficient installation. This includes measuring the area, selecting the right type of hardwood flooring, and preparing the subfloor. It’s important to have a clear plan in place before beginning the installation process.
- Using the right tools and supplies: Using the right tools and supplies can help make the installation process more efficient. This includes using a flooring nail, saw, measuring tape, level, and other tools specific to hardwood flooring installation.
- Working in sections: Working in sections can help break up the installation process and make it more manageable. This can also help ensure that each section is installed correctly before moving on to the next.
- Cutting the hardwood flooring in batches: Cutting the hardwood flooring in batches can help save time and reduce mistakes. By cutting the flooring in batches, installers can ensure that all of the pieces are the correct size and shape before starting the installation.
- Using prefinished hardwood flooring: Prefinished hardwood flooring is a great option for those looking to save time. Since the finish is applied in the factory, there is no need to wait for it to dry. Which can save a significant amount of time during the installation process.
- Maintaining a clean and organized work area: Keeping the work area clean and organized can help make the installation process more efficient. This includes removing debris and keeping tools and supplies organized.
By considering these common factors, installers can complete the installation of hardwood floors in a timely and efficient manner.
Install Hardwood Floors Efficiently Without Professional Help
Installing hardwood floors can be a challenging task, but it is possible to do it yourself without professional help. Here are the steps to install hardwood floors with a focus on time and efficiency:
- Gather the necessary tools and supplies: You’ll need a saw, a flooring nailed, measuring tape, a level, underlayment, hardwood flooring, and other tools specific to hardwood flooring installation.
- Prepare the subfloor: Make sure the subfloor is clean, level, and free of debris. Install underlayment if necessary.
- Acclimate the hardwood flooring: Let the hardwood flooring acclimate to the room for at least 48 hours.
- Lay out the hardwood flooring: Determine the best layout for the hardwood flooring based on the size and shape of the room.
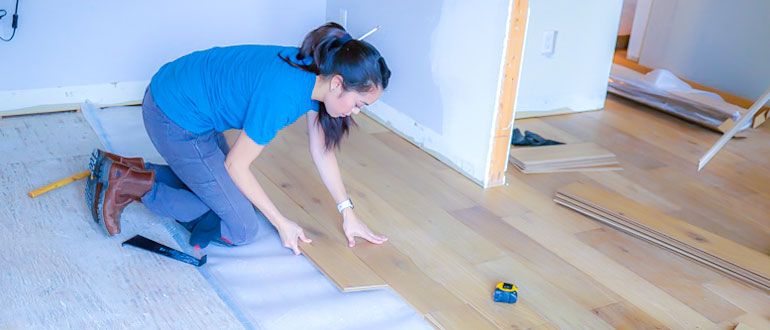
- Install the first row: Start at a wall and use the flooring nailed to attach the hardwood flooring to the subfloor. Make sure the boards are straight and level.
- Install the remaining rows: Continue installing the hardwood flooring in rows, using the flooring nailed to attach the boards to the subfloor.
- Cut the boards as necessary: Use a saw to cut the hardwood flooring to fit around obstacles or to fill gaps.
- Install the final row: Use a pry bar to install the final row of hardwood flooring, making sure to leave a gap between the flooring and the wall for expansion.
- Sand and finish the hardwood flooring: Sand the hardwood flooring to remove any imperfections and then apply a finish of your choice.
By following these steps, you can install hardwood floors without professional help. However, it’s important to take your time and make sure you’re following proper installation techniques to ensure a long-lasting and beautiful result.
The Most Common FAQs
Here are some frequently asked questions about how long it takes to install hardwood floors.
Q: How long does it take to install hardwood floors in a single room?
A: The time it takes to install hardwood floors in a single room can vary depending on the size of the room, the type of hardwood flooring, and the skill level of the installer. On average, it can take anywhere from one to three days to install hardwood floors in a single room.
Q: How long does it take to install hardwood floors throughout an entire house?
A: Installing hardwood floors throughout an entire house can take several days to several weeks. It depends on the size of the house and the complexity of the installation. It’s best to consult with a professional installer to get an accurate estimate of the time it will take to complete the installation.
Q: Can install prefinished hardwood floors save time?
A: Yes, installing prefinished hardwood floors can save time during the installation process. Since the finish is applied in the factory, there is no need to wait for it to dry, which can save a significant amount of time.
Q: Can I install hardwood floors myself to save time and money?
A: Yes, you can install hardwood floors yourself to save time and money. However, it’s important to have the necessary skills and experience to complete the installation properly. Improper installation can lead to a shorter lifespan of the hardwood floors and potentially costly repairs.
Q: Should I hire a professional installer for hardwood floors?
A: Hiring a professional installer for hardwood floors is recommended. Especially, if you don’t have the necessary skills and experience to complete the installation properly. A professional installer can ensure that the installation is done correctly and efficiently. Which saving your time and money in the long run.
Conclusion
In conclusion, the time it takes to install hardwood floors can vary depending on several factors. The size of the area to be covered, the type of hardwood flooring, the skill level of the installer. Besides, the proper tools and supplies can all affect the installation time.
Furthermore, On average, it can take one to three days to install hardwood floors in a single room. It also takes several days to several weeks to install hardwood floors throughout an entire house.
Installing prefinished hardwood floors can save time during the installation process. Since the finish is applied in the factory. You should hire a professional installer is recommended for a proper and efficient installation.
